Superimpose Lesson Ideas
Lesson 1
Aim: To explore the app Superimpose and create an image that merges two photographs.
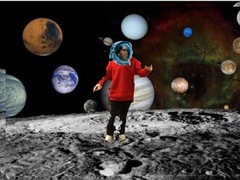
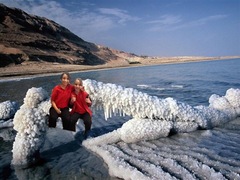
Here are some examples of my Stage 2 students very first attempts using Superimpose.
Aim: To explore the app Superimpose and create an image that merges two photographs.
- Display some superimposed images to the class. Discuss if they appear to be real photographs. Why or why not?
- Explain the term 'superimpose'.
- Give a brief overview of the app, Superimpose, demonstrating just the main features needed to create a superimposed image.
- Allow students to explore the app in pairs, with the intent of creating an image that combines two separate images. Students are encouraged to use photos they take themselves as well as those available on the internet.
- As students explore and discover new features allow them to share their discoveries with the class by airplaying their iPad and demonstrating to the class.
- Share some of the images students create at the end of the lesson.
Here are some examples of my Stage 2 students very first attempts using Superimpose.
|
|
|
Lesson 2
I first came across this idea while surfing for Photoshop tutorials. Originally we were going to try it using Photoshop, but Superimpose seemed to be a much easier alternative for my Stage 2 class.
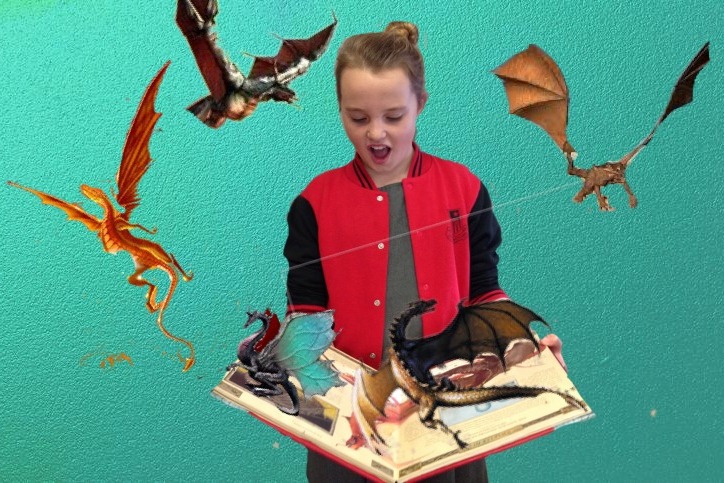
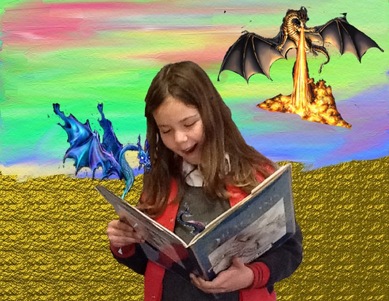
Aim: To create a digital image of a picture book coming to life.
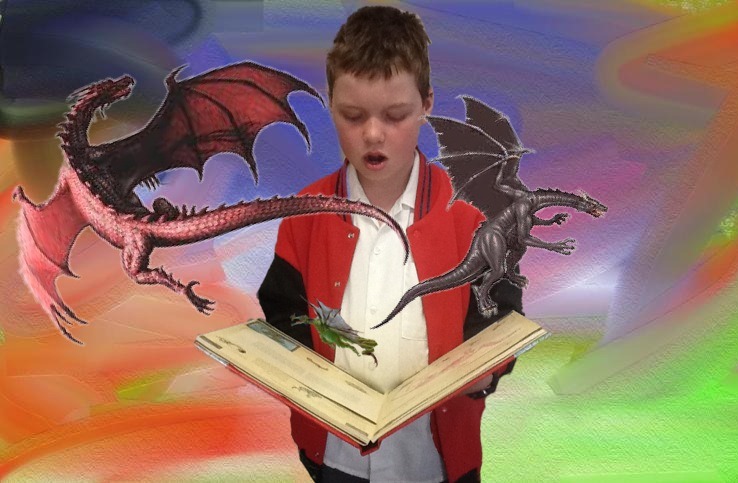
Here are some examples of completed 3D book digital artworks.
I first came across this idea while surfing for Photoshop tutorials. Originally we were going to try it using Photoshop, but Superimpose seemed to be a much easier alternative for my Stage 2 class.
Aim: To create a digital image of a picture book coming to life.
- Create a background image for the artwork using ArtRage (app or PC based).
- Import the background image into Superimpose.
- Students take photos of each other holding a book open, with a look of wonder on their face.
- Import this image as the foreground image.
- Use the transform tool to zoom the image in and then the mask brush tool to remove the unwanted background from the portrait image. When all the unwanted background is removed, merge the two images into one.
- Import another image into the foreground, that would possibly come to life out of your storybook e.g. dragon.
- Use the transform and mask tools to remove unwanted areas of the image. Merge the images together once masking is completed.
- Repeat the above step as many times as necessary to add further objects to the image.
Here are some examples of completed 3D book digital artworks.
|
|
|

|
Lesson 3
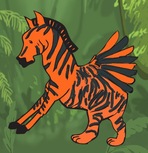
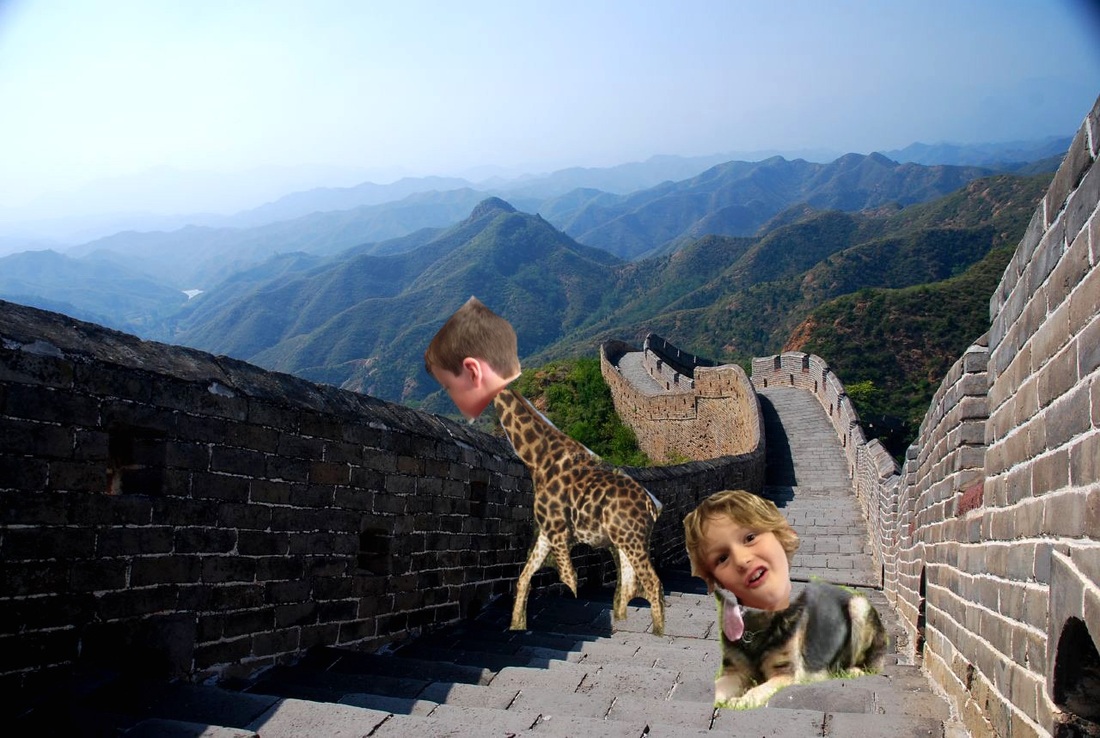
For this lesson we started with a simple app called Animal Creator (free version). Students can select a different animal for each quarter of the image. The animal sections actually blend quite well together. Students can select up to four different parts of animals to came up with their own unique animal. The app generates a name for the animal, which helped students think of names for their own creations later in the lesson. Once they've selected the parts they can colour their animal and select a background design. the image can be saved to the Photo Library and emailed off for sharing purposes.
Next students had a turn at finding their own photographic images and morphing them together using Superimpose. We used a base image with an animal and background. You could however, have students select an unusual background image and then start layering their animals over the top. For this lesson, students were required to morph together at least two different animal parts, some had a go at three or even more. Here are a few examples from my Stage 2 class.
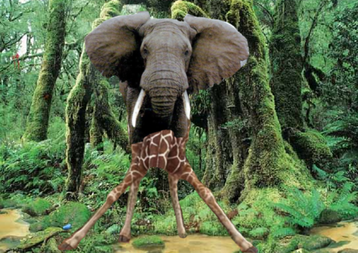
A geliphant
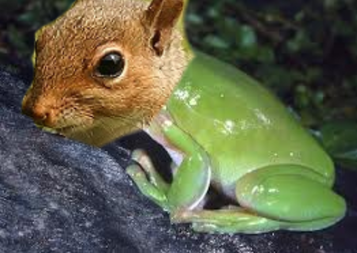
A squog
|
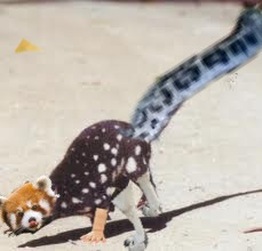
A quoeleopard
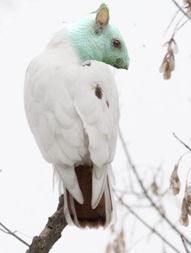
A squark
|